Trotz der Leistungsfähigkeit bekannter RAG-Systeme kommt es immer wieder zu Ergebnissen, die nicht das Gelbe vom Ei sind. Was also tun? Ich verrate es dir!

Highlights
-

Git für … Consultants
Git ist schön und gut, aber wer mehrere Projekte bearbeitet, gerät schnell an Grenzen. Doch es gibt ein paar spannende Tipps & Tricks …
-

Moderne Datenarchitekturen im Vergleich
Die Wahl der richtigen Datenarchitektur ist ein strategischer Prozess, der viele Faktoren berücksichtigen muss. Ein Überblick.


Top-Aktuell

Kurze Unterbrechung für Agilisten

Product Owner Handbuch #7
180 Seiten Wissen unserer Product Owner Community.
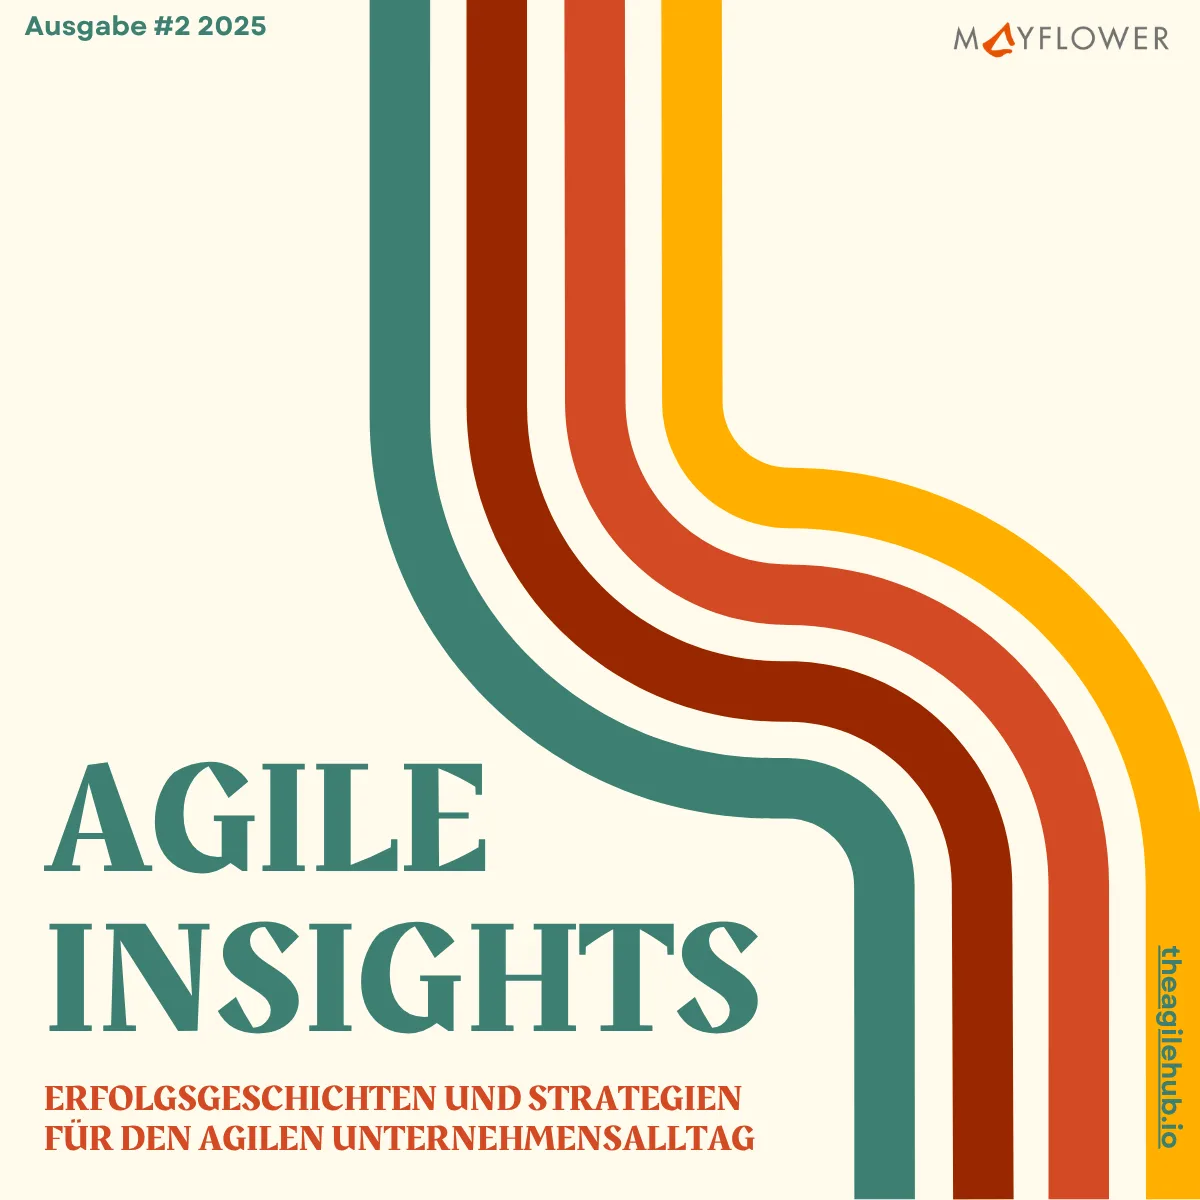
Agile Insights
Dokumentation über das jüngste Quartal unserer Agile Community.

Noch mehr Tech
Noch mehr Agile
Highlight


Git ist schön und gut, aber wer mehrere Projekte bearbeitet, gerät schnell an Grenzen. Doch es gibt ein paar spannende Tipps & Tricks …
Newsletter
Aktuelle Artikel per Mail
Verpasse keinen Artikel mehr und lass Dich von uns benachrichtigen, sobald es etwas Neues im Blog gibt.
Für das Handling unseres Newsletters nutzen wir den Dienst HubSpot. Mehr Informationen, insbesondere auch zu Deinem Widerrufsrecht, kannst Du jederzeit unserer Datenschutzerklärung entnehmen.
Videos aus der #AgileUFRA
Theagilehub ist unsere Homebase für alle Scrum Master, Agile Coaches, Product Owner, Agile Leaders, Agile Developers und alle, die sich sonst noch mit agilen Themen beschäftigen. Dort ist auch unsere Agile Usergroup beheimatet.
Die #AgileUFRA präsentiert euch regelmäßig aktuelle und spannende Themen aus dem Agilen Umfeld. Und weil man manchmal keine Zeit hat, bereiten wir viele der Sessions für euch auf. Wenn ihr Lust habt, könnt ihr gerne einmal einen Blick riskieren.


Unser Special zum Thema Barrierefreiheit