You might ask: Why build your own keyboard? Because it looks cool and impresses people!
Jokes aside – building your own keyboard is actually not as uncommon as you might think. The process can be very fun, and you get a lot of practical use out of your final product.
Why a split keyboard?
Using a full-sized keyboard makes you move your hands around a lot, potentially causing strain on your wrists. Furthermore, bending your wrists outwards causes ulnar deviation, leading to constriction of the carpal tunnel (unless you are a t-rex).
Both of these problems can be tended to by using a split keyboard. Truth be told, I did not have any of these problems but wanted a split keyboard regardless. I also thought making it a bit more ergonomic could not hurt since software developers (such as myself) spend most of their day on the computer.
Why dactyl manuform?
First of all, the dactyl manuform is a split keyboard, and the keys are at an angle which further helps your arms be in a natural resting position. It has much fewer keys than a full-sized keyboard, and they are all comfortably accessible without moving your wrists.
To compensate for the lack of keys, it utilizes so-called layers. Layers are effectively the same as pressing shift on a regular keyboard. When the layer is active (for example, when holding down a modifier key), other keys will generate different keycodes according to the configuration of the layer. For example, you might have a layer specifically for numbers and F-keys and another for special characters.
Especially cool is that you can generate the casing for the dactyl manuform by running a parameterized script. You can adjust things like width, height, the distance between keys, etc. Apart from that, there is a decent amount of reference implementations online, which is definitely useful when building your first keyboard.
What makes a good keyboard?
Obviously, good is a very subjective term. But I think there are some main points that most people will agree on. Firstly you don’t want your keyboard to slide right off the table when you type. Therefore, it should have a decent weight. Pressing the keys should have a pleasant feel and enable you to type fast. I often get pain in my hands when using a rubber dome keyboard (the gold standard in every office). The sound and looks are also incredibly subjective but can be very important for some people, especially keyboard enthusiasts.
Kurze Unterbechung
Das ist dein Alltag?
Keine Sorge – Hilfe ist nah! Melde Dich unverbindlich bei uns und wir schauen uns gemeinsam an, ob und wie wir Dich unterstützen können.
What do you need to build a dactyl manuform?
Fundamentally you need four things: a microcontroller, keys, firmware, and a casing to hold it all together. Leaving out all the essential electronic components and tools such as wires, cables, diodes, and a soldering iron.
There are microcontrollers explicitly made for keyboards, such as the nice!nano, but really you can use any general-purpose microcontroller small enough to fit in the casing and is supported by the firmware. I opted for Teensy 2.0 since that is the one suggested by the guide I read at that time.
The dactyl manuform (like most other mid to high-end keyboards) is used in combination with mechanical switches. Mechanical keyboards, in contrast to rubber dome keyboards, are more precise and have a feeling that many people prefer. There are a lot of different manufacturers producing mechanical switches and even more variations. I chose the red switches from the Cherry MX lineup since I have been pleased with them in the past.
Regarding firmware, I decided to use QMK, which is easy to configure and the most commonly used open source keyboard driver, also found in many commercial products. One of my favorite features is that it has mouse support meaning you can move and click the mouse using your keyboard. It also supports many different microcontrollers and even has some graphical user interfaces for configuring layouts (although I didn’t try any of them).
Hands-on!
Building the keyboard was pretty straightforward. The casings were 3d printed, and the bottom plates were laser-cut from 4 mm stainless steel sheets. I chose stainless steel to get the aforementioned weight.
Afterward, it was as simple as pressing the switches into place and connecting them with diodes before hooking everything up to the Teensy.
I subsequently flashed the firmware onto the microcontrollers and connected both halves to each other and one half to my pc. And voilà! It works! Although some of the connections were a bit wonky because I did a sloppy job soldering. After fixing the mischievous connections, I started to use the keyboard as my daily driver.
Issues with the keyboard
The biggest issue was that I hadn’t installed an external reset button, meaning I had to open the casing every time I wanted to flash a new version of the firmware, which actually happened quite often while I was tinkering around with the layout and other settings.
Also, because I did not plan ahead well enough, the casing did not have the correct cutouts for my connectors. So, when I needed to unplug the cables, I also had to open the casing. This was not ideal and became very annoying over time.
The redemption arc
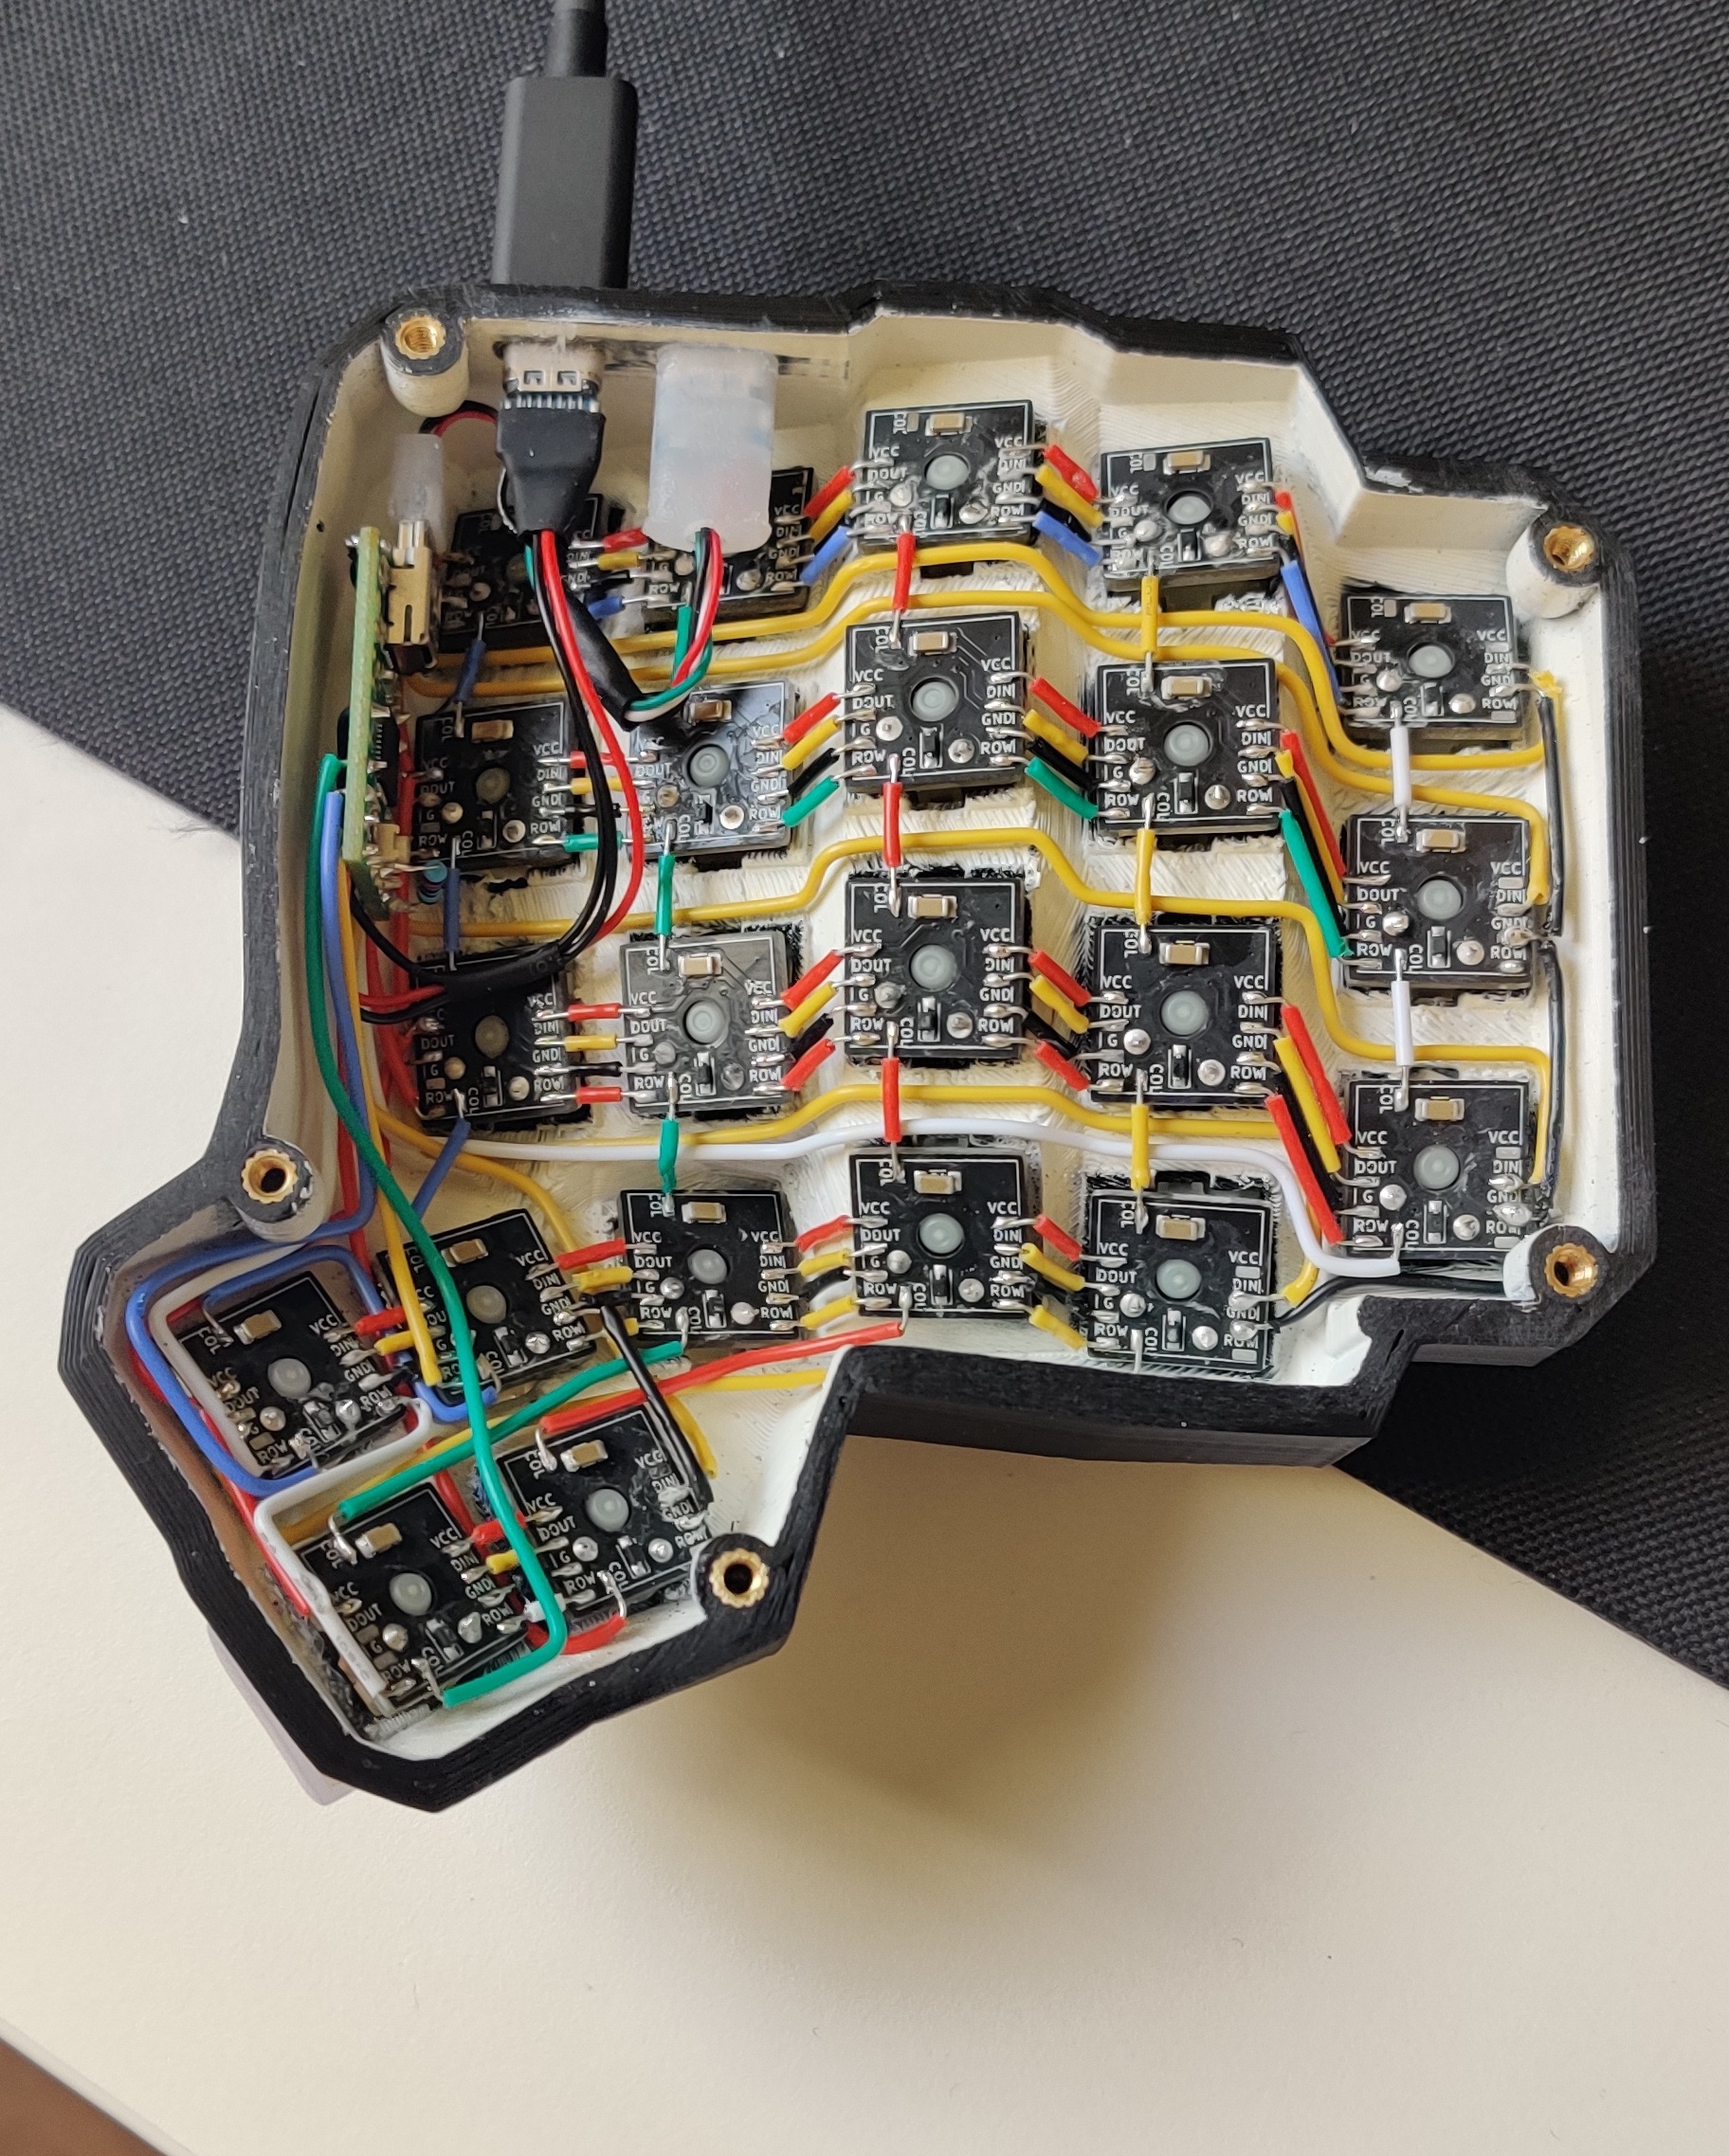
So I did what any reasonable person would do: I started all over again – this time with RGB lighting. I tried to avoid the previous issues and preemptively added two USB type-C cutouts for connectivity and software reset when hitting a certain key combination. With that in place, updating the firmware was much easier.
Another significant improvement was lubing the switches. This is something enthusiasts do a lot to make switches feel and sound better. Switching from using only diodes to connect the keys to using PCBs helped enable the under-key lighting.
Lastly, I switched my keyboard layout to Colemak Mod-DH to further improve my typing experience.
Conclusion
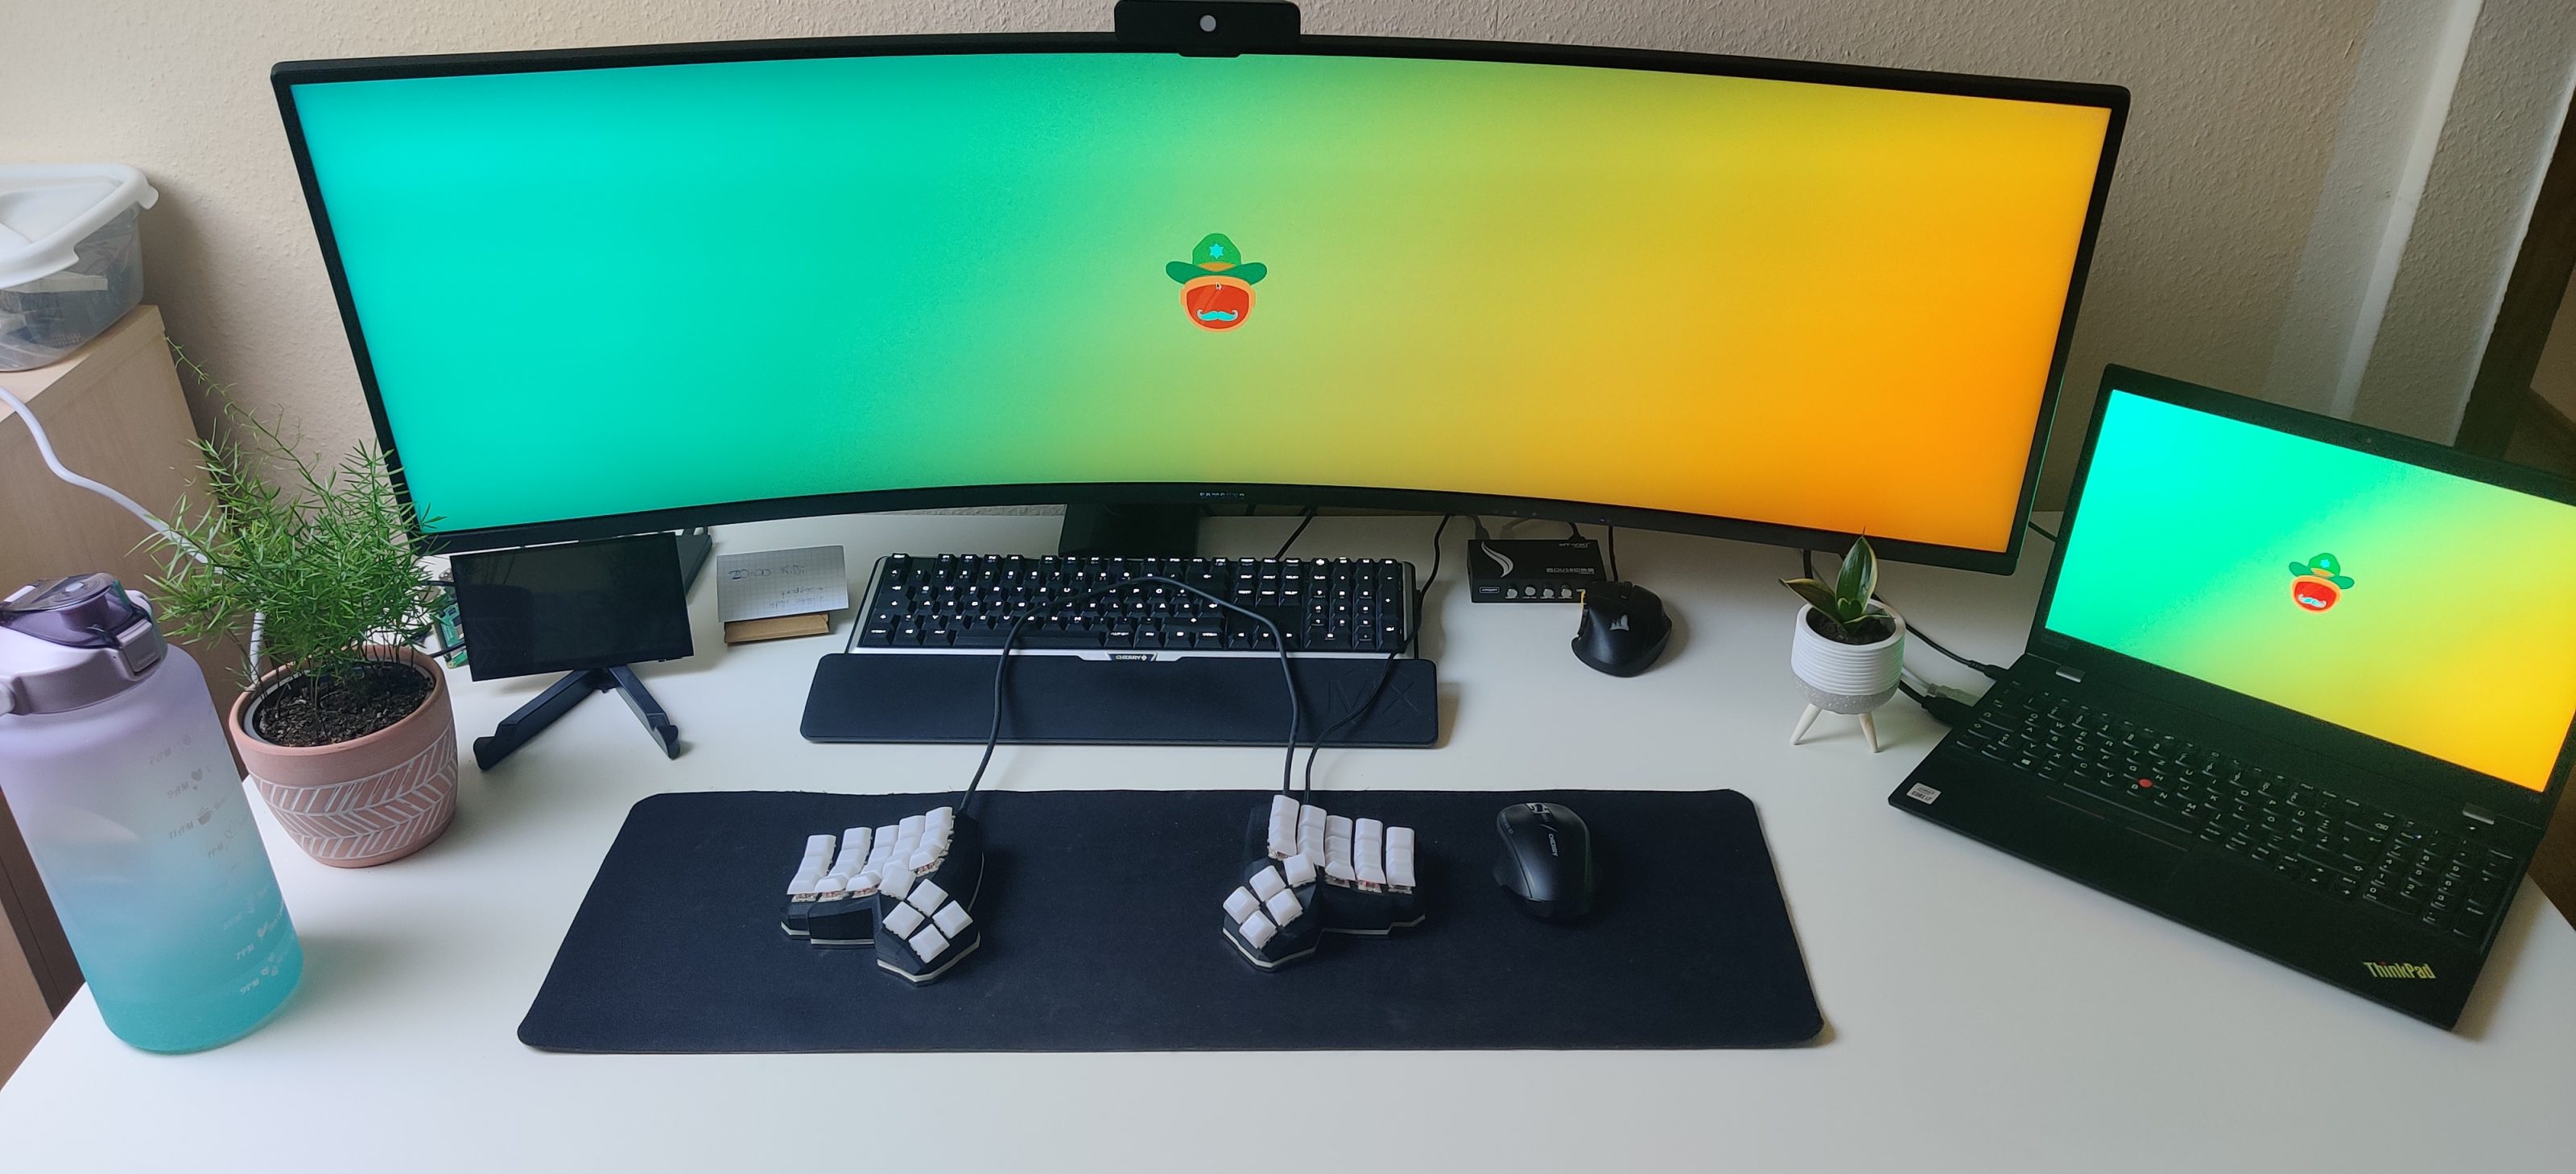
I have been using the keyboard as a daily driver for a couple of months now, and it has been great, at least after getting used to it. In all honesty, adapting to a new layout is always frustrating and takes time.
As of now, typing on the dactyl manuform is really effortless, and as a software developer, I often have to use characters such as `{` and `[`, which are much more accessible on my keyboard than a regular german one.
All in all, I had a great time building the keyboard and am already working on the third version.
If you are interested in the specific details of how to build your own, you can check the in-depth instructions on GitHub.

Schreibe einen Kommentar